DIY build step 4
Creating the Frame for a DIY Outdoor Kitchen
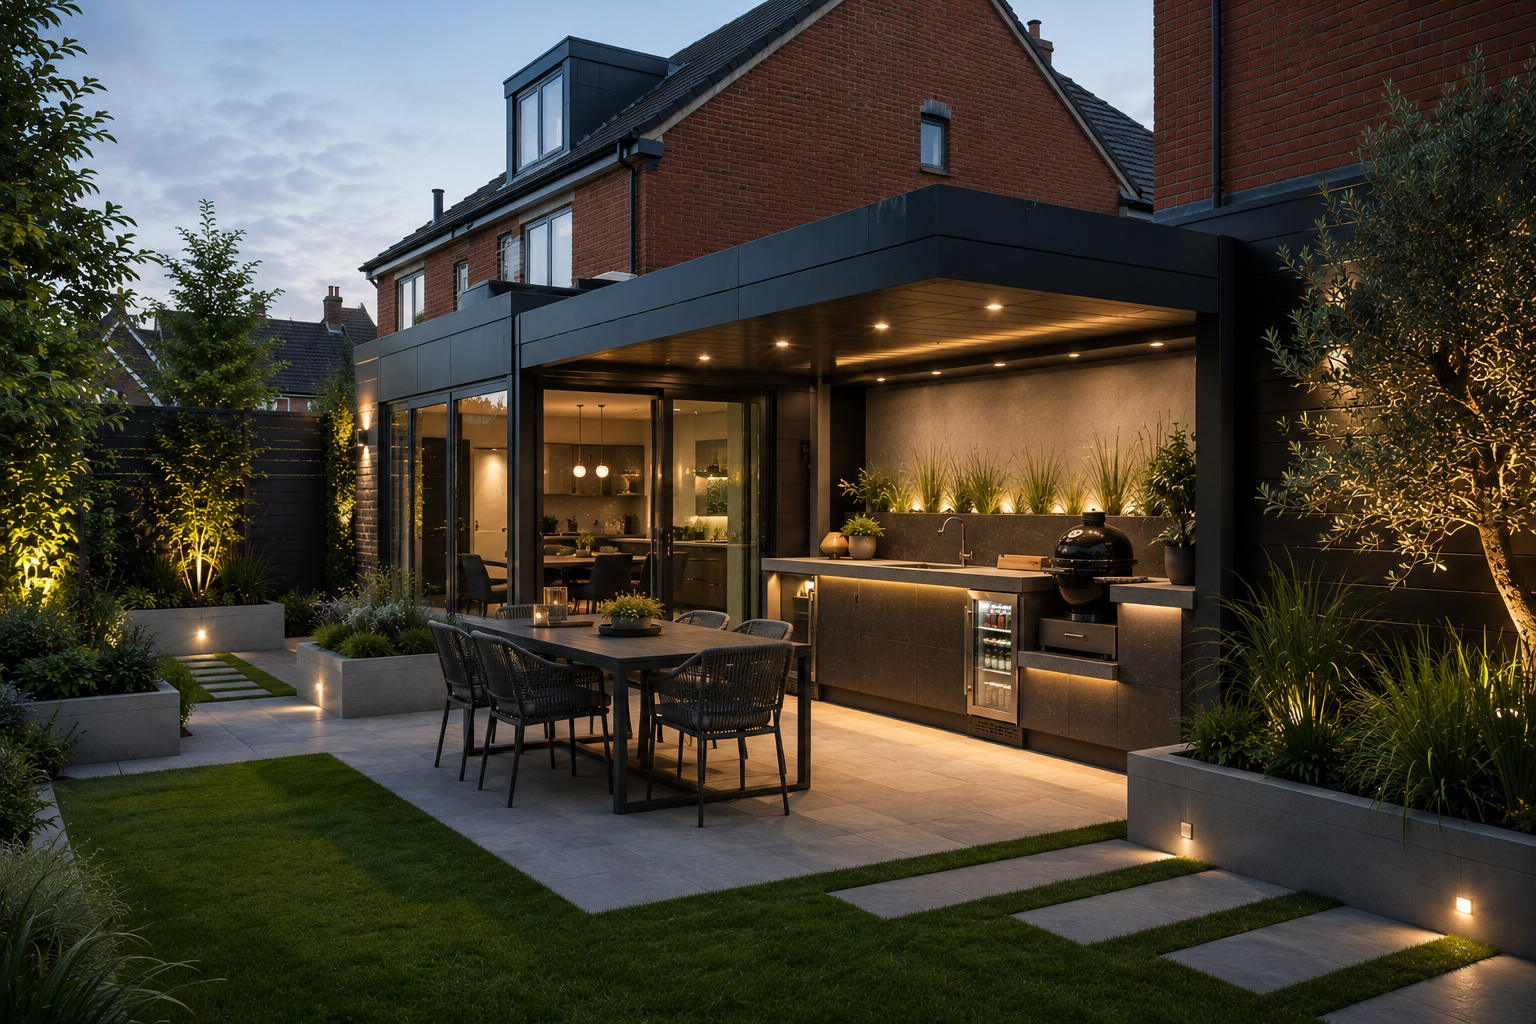
Build the frame square, level, ventilated and serviceable. The frame sets the finished line for doors, worktops, appliances and cladding, so small errors become visible later.
Build the frame square, level, ventilated and serviceable. The frame sets the finished line for doors, worktops, appliances and cladding, so small errors become visible later.
Square
Square
Set out from a reliable datum and check diagonals before fixing anything permanently.
Level
Level
Make the frame level while preserving drainage fall in the surrounding patio.
Accessible
Accessible
Build in access for gas bottles, valves, electrics, waste traps and future repairs.
Step 1
Set out the finished line before cutting materials
Mark the front edge, side returns, appliance openings and worktop overhang on the patio. Use a chalk line, string line or straight edge, then compare the setting-out marks with the appliance manuals and your door sizes.
Work from the finished face, not only the frame face.
Mark appliance widths, ventilation gaps and access doors.
Check diagonals so the frame does not slowly drift out of square.
Confirm worktop depth before fixing the front rail or block line.
Step 2
Fix or isolate the frame correctly
A lightweight modular frame may only need adjustable feet, while a permanent frame may need mechanical fixings, DPC, packers or a plinth detail. Avoid trapping timber directly against wet paving and avoid drilling into unknown services.
Keep timber off standing water.
Use packers and DPC where masonry or timber meets the base.
Check for under-patio services before drilling.
Do not rely on cladding to straighten a weak frame.
Step 3
Frame appliance and door openings carefully
Built-in grills, doors and drawers need accurate openings. Leave the gaps required by the manufacturer, and remember that cladding thickness changes the final opening size.
Measure finished opening size after board and cladding thickness.
Leave grill ventilation clear.
Keep gas bottle doors wide enough for bottle changes.
Use removable panels where service access is uncertain.
Step 4
Inspect the frame before covering it
Before cladding, check every level, screw, bracket, service route and ventilation path. This is the cheap moment to fix mistakes. Once tiles, render or worktops are fitted, every adjustment costs more.
Dry-fit doors and appliances.
Check worktop support at joins and corners.
Photograph hidden services before closing the frame.
Seal cut timber ends and exposed board edges.