DIY build step 3
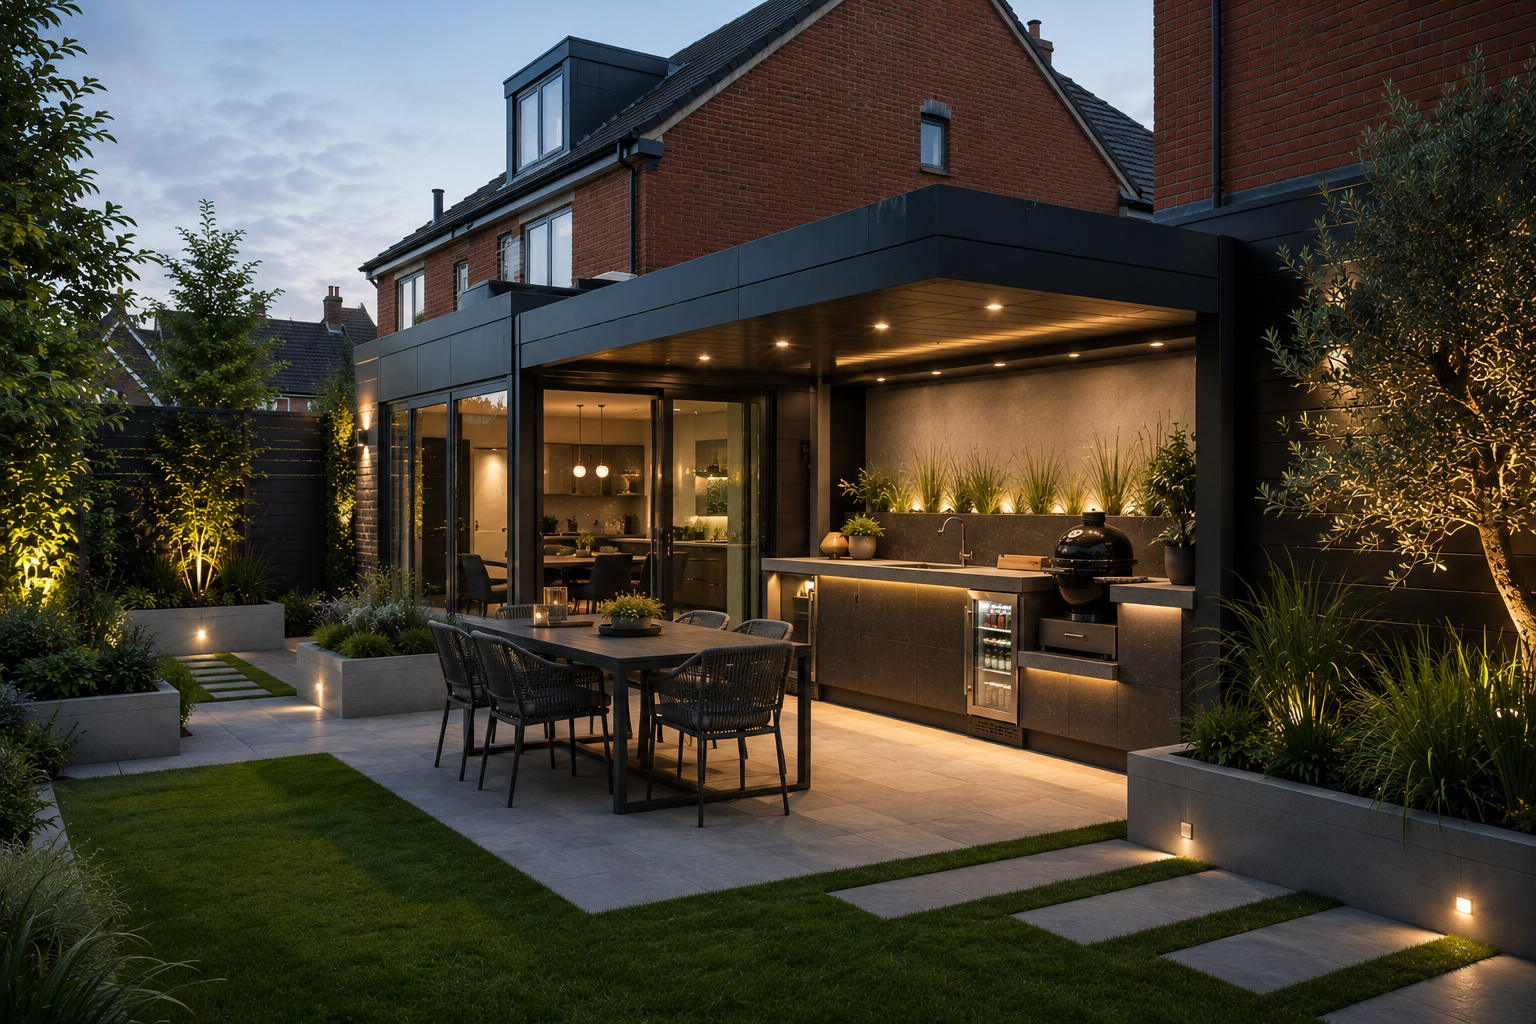
Choosing Materials for a DIY Outdoor Kitchen
Choose materials that can survive UK rain, frost, UV, grease and repeated cleaning. The cheapest indoor kitchen material is usually the expensive mistake outdoors.
Choose materials that can survive UK rain, frost, UV, grease and repeated cleaning. The cheapest indoor kitchen material is usually the expensive mistake outdoors.
Frame
Frame
Use masonry, metal, treated timber or a hybrid frame only where the design protects it from heat and standing water.
Skin
Skin
Choose cement board, render board, porcelain, stone or metal cladding instead of standard indoor plasterboard or chipboard.
Fixings
Fixings
Budget for stainless, galvanised or exterior-rated fixings because rust stains and failed screws ruin good materials.
Structure
Pick the frame material around weight, weather and heat
Blockwork feels permanent and handles weather well, but it is heavy and needs a suitable base. Treated timber is easier for many DIYers, but it must be kept away from direct heat and detailed so water cannot sit against it. Aluminium or steel systems can be neat, but cost and specialist parts vary.
Use blockwork for heavy, permanent builds on a strong base.
Use treated timber only with ventilation, protection and correct clearances.
Use non-combustible materials around built-in grills and pizza ovens.
Avoid untreated timber and indoor sheet materials outdoors.
Weather layer
Choose cladding and boards that tolerate wet conditions
The outer skin takes the punishment. Cement backer board, exterior render board, porcelain tile, stone slips, brick slips and stainless panels can all work if detailed correctly. Ordinary plasterboard, MDF, chipboard and indoor laminate are poor choices in exposed outdoor kitchens.
Check whether boards are suitable for exterior use, not just damp indoor rooms.
Seal edges, penetrations and fixings according to the product system.
Use trims to keep water out of board edges.
Keep cladding removable where access is needed.
Storage
Be honest about indoor units outside
Indoor kitchen units are tempting because they are cheap and easy to buy, but most chipboard carcasses are not designed for repeated soaking, frost or high humidity. If using them in a very sheltered zone, treat them as a short-life compromise and lift them off wet ground.
Prefer outdoor-rated stainless, aluminium, polymer or masonry storage where exposed.
Use stainless doors on masonry bases for a durable hybrid build.
Leave ventilation for gas bottle and appliance spaces.
Keep timber and chipboard away from puddles and splash zones.
Small parts
Do not under-budget fixings, vents and sealants
Many outdoor kitchen failures start with cheap screws, blocked ventilation or poorly sealed edges. Include stainless or exterior-rated screws, construction adhesive, fire-resistant boards where needed, silicone, trims, vents and access panels in the material plan.
Use exterior-rated fixings and brackets.
Match sealants and adhesives to the surface and temperature.
Add vents for gas appliances and enclosed cavities.
Keep access to anything that may need repair.