DIY build step 6
Weatherproofing a DIY Outdoor Kitchen for the UK
Design for rain, frost, wind, UV and damp air from the start. UK weatherproofing is not one product; it is drainage, ventilation, material choice, roofs or pergolas, side screens, covers, detailing and maintenance.
Design for rain, frost, wind, UV and damp air from the start. UK weatherproofing is not one product; it is drainage, ventilation, material choice, roofs or pergolas, side screens, covers, detailing and maintenance.
Rain
Rain
Keep water moving away from the house, frame, board edges and cabinet bases.
Frost
Frost
Avoid trapped water in surfaces, pipework, cracks and unsealed edges.
Shelter
Shelter
Use a roof, pergola or side screen to reduce rain exposure without trapping smoke, heat or damp air.
Rain
Detail every surface so water can leave
Most outdoor kitchens fail because water is trapped. Use falls, drip edges, sealed board edges, raised feet and trims so water does not sit against timber, chipboard, masonry cavities or worktop joints.
Avoid flat shelves that collect rain.
Use drip details under worktop edges.
Seal cut board edges and penetrations.
Keep cabinet bases above puddle level.
Cold weather
Plan for frost before winter arrives
Freeze-thaw damage happens when water gets into cracks, porous materials, pipes and joints. Choose frost-resistant materials, isolate water supplies and avoid absorbent finishes where water can sit.
Use frost-resistant paving, tile and grout systems.
Drain down outdoor taps and sink feeds.
Cover appliances once cool and dry.
Inspect cracks before winter.
Drying
Ventilation is part of weatherproofing
A sealed cavity can hold damp air for months. Build ventilation into storage bays, gas bottle areas and framed voids so the kitchen can dry after wet weather.
Add low and high vents where cavities need airflow.
Keep appliance vents clear.
Do not block airflow with stored covers and bags.
Use removable panels for inspection.
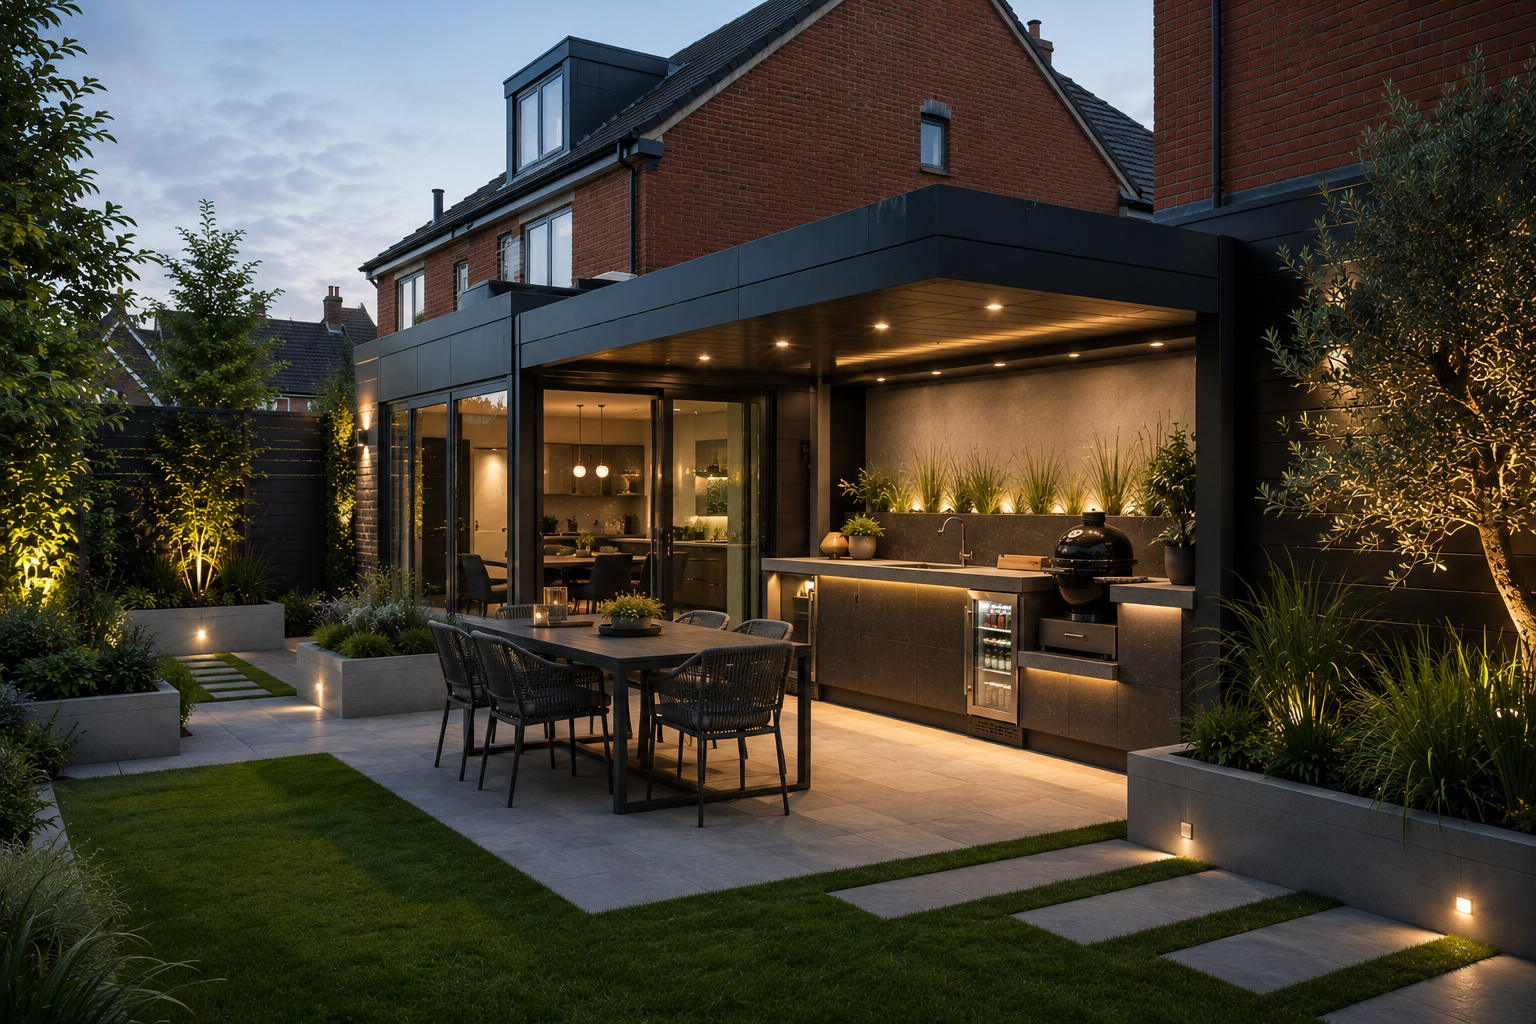
Shelter and screening
Roofs, pergolas and walls can help, but they change the build
A roof, pergola, louvred canopy, side screen or low wall can make an outdoor kitchen much easier to use in UK weather. The tradeoff is that shelter changes how rain, smoke, heat, wind and planning rules affect the design. Treat it as part of the build, not as a decorative extra added at the end.
Roof or canopy: keep rain off the worktop and appliances, but leave enough height and open sides for heat and smoke to escape.
Pergola: plan post positions, beam height, shade direction and footings before the kitchen frame or patio is finished.
Side screens: use slatted screens, planting, glass or partial walls to soften wind-driven rain without making the cooking area feel boxed in.
Solid walls: protect finishes from wind and give useful backing for lights or shelves, but they can trap damp, smoke and grease if ventilation is poor.
Design checks before adding a roof or wall
- Check appliance manuals for overhead clearance, rear clearance and ventilation requirements.
- Keep combustible pergola posts, timber screens and roof linings away from grill heat and flues.
- Design roof fall, gutters or drip edges so water does not pour onto the cooking face or behind cabinets.
- Use proper post footings or structural fixings rather than relying on paving slabs to hold a pergola down in wind.
- Check planning permission or permitted development guidance if the shelter is tall, roofed, enclosed, close to a boundary, forward of the house, or on a listed/designated property.
Upkeep
Budget time for maintenance, not just materials
Even durable outdoor kitchens need cleaning and checks. Grease, salt air, leaves, pollen and winter damp all shorten the life of neglected finishes.
Clean stainless steel with the grain.
Re-seal natural stone if the supplier requires it.
Check sealants and fixings annually.
Remove leaves from behind units and around drains.