DIY build step 7
Outdoor Kitchen Worktops and Finishes
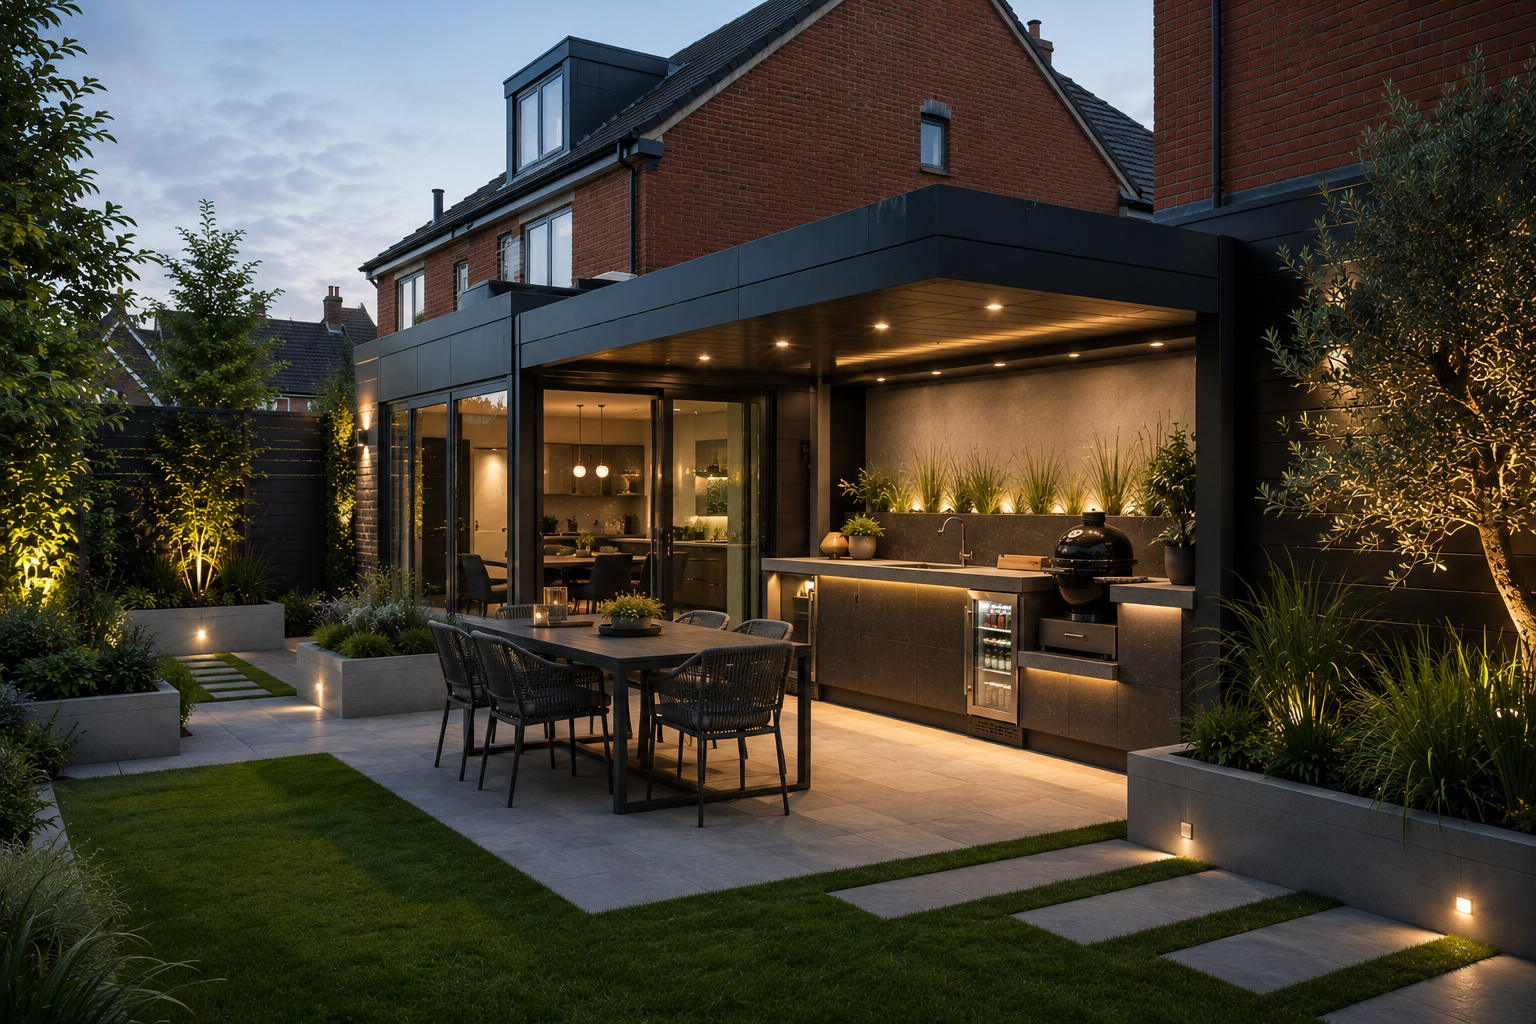
The worktop and finish decide how the kitchen feels day to day. Choose surfaces that can handle heat, grease, frost, sun, cleaning and the occasional wet pan.
The worktop and finish decide how the kitchen feels day to day. Choose surfaces that can handle heat, grease, frost, sun, cleaning and the occasional wet pan.
Porcelain
Porcelain
Low maintenance, weather-resistant and practical for modern outdoor worktops and cladding.
Stone
Stone
Durable and premium, but needs correct support, sealing and edge detailing.
Render or tile
Render or tile
Flexible finish options, but only as good as the board, adhesive, trims and movement joints beneath.
Surfaces
Choose the worktop around use, not just appearance
A good outdoor worktop gives you prep space, serving space and easy cleaning. Porcelain and sintered stone are strong low-maintenance options. Granite can work well when supported and sealed. Concrete can look great, but needs careful detailing and realistic expectations about staining and cracks.
Check heat resistance and cleaning instructions.
Use suitable support under heavy stone.
Avoid indoor laminate and timber worktops in exposed areas.
Allow overhangs, drips and appliance cut-outs in the quote.
Visible finish
Match cladding to the frame and the weather exposure
Render, porcelain tile, stone slips, brick slips, composite cladding and stainless panels can all work. The key is choosing a complete system: board, adhesive, fixings, trims, waterproofing and movement joints.
Use exterior-rated adhesive and grout where tiled.
Protect corners and exposed edges with trims.
Do not tile over a weak or moving frame.
Keep access panels integrated into the finish.
Detailing
Joints and edges decide how long the finish lasts
Outdoor finishes move with temperature and moisture. Poor joints crack, trap water or stain the face of the kitchen. Design fewer joins, use proper sealants and keep water from sitting on exposed board edges.
Use movement joints where the finish system requires them.
Seal around sinks, taps and appliance cut-outs.
Add drip grooves or profiles under exposed edges.
Keep worktop seams away from the wettest areas where possible.
Use
Pick finishes you will actually maintain
A finish that looks perfect on day one may be a poor choice if it needs careful sealing, specialist cleaners or constant wiping. Outdoor cooking is greasy and smoky, so choose surfaces that can be cleaned without drama.
Prefer non-porous prep surfaces.
Avoid highly textured finishes beside the grill.
Keep pale grout away from heavy grease zones.
Store cleaners and covers near the kitchen.